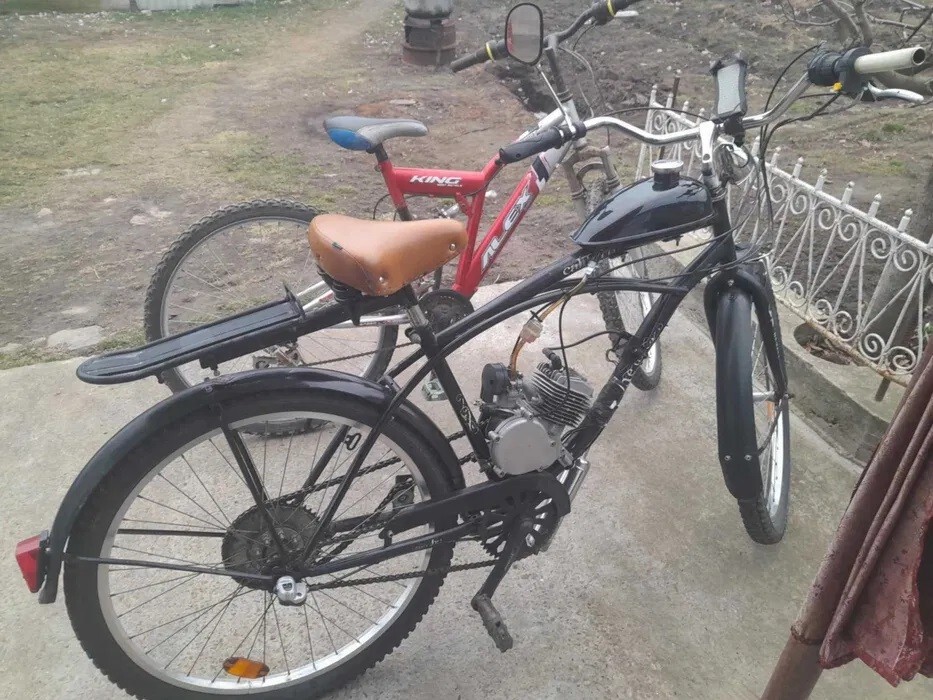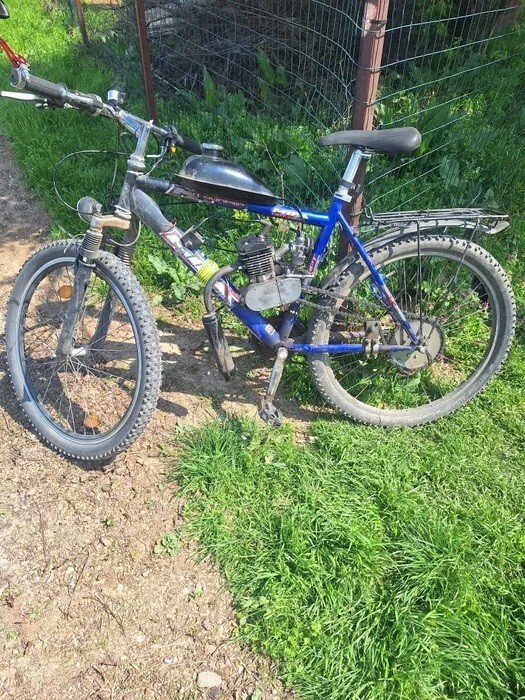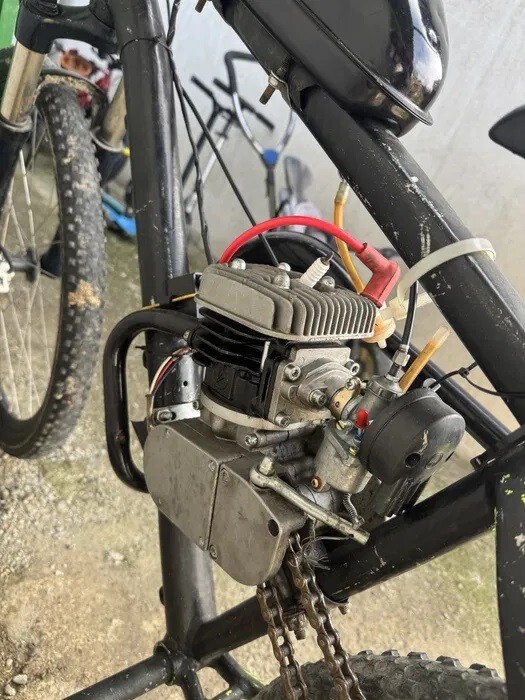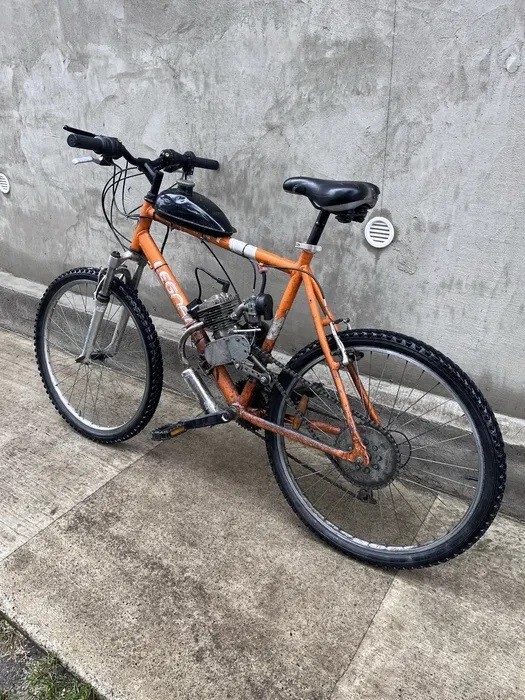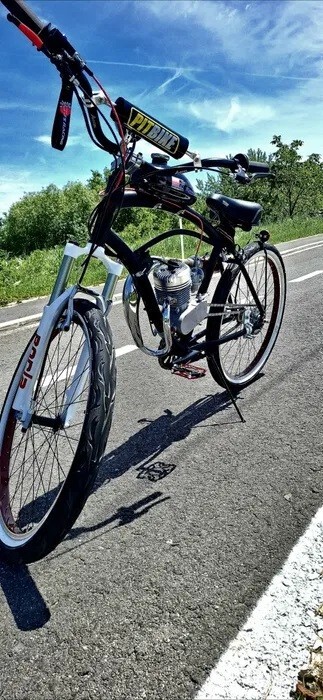



Complete 50/80 cc 2-stroke bicycle engine kit, 3.2 HP, easy installation, motorcycle/bicycle engine

Description
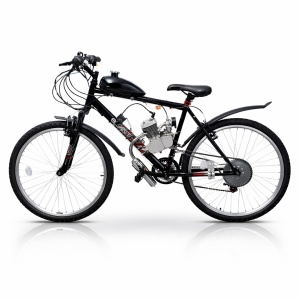
Complete 50-80cc 2-stroke bicycle engine kit - turns your bike into a real moped
Quickly transform any bicycle into a powerful motorized vehicle with this complete 2-stroke engine kit. Designed for real performance and everyday use, this system offers the perfect balance between power, low consumption and easy installation.
With a power of up to 3.2 HP and high speed, the kit is the ideal choice for commuting, deliveries or recreational use, without the costs of a scooter or motorcycle.
Real advantages in everyday use
High power 3.2 HP – fast acceleration and stable performance even over long distances.
High travel speed – transform your bike into a fast and efficient means of transportation.
Low consumption – ideal for daily use without high costs.
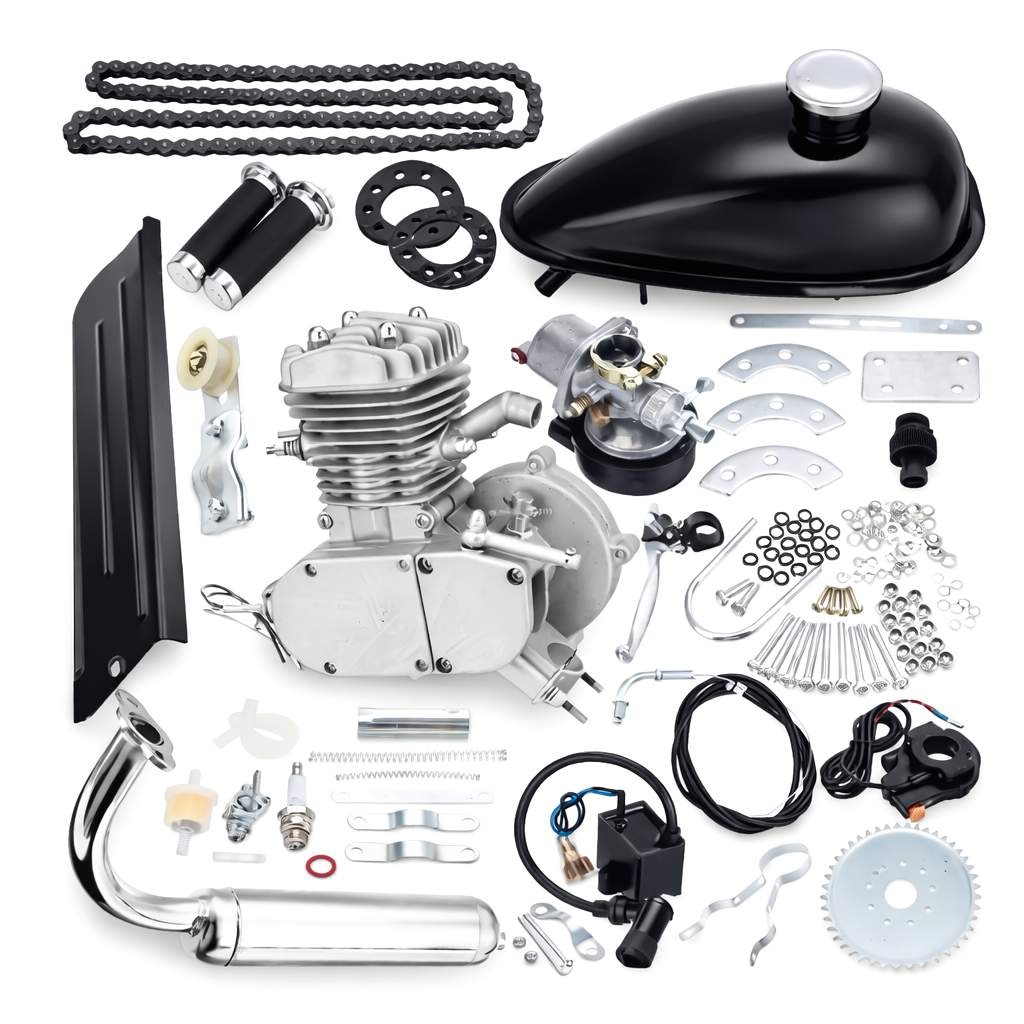
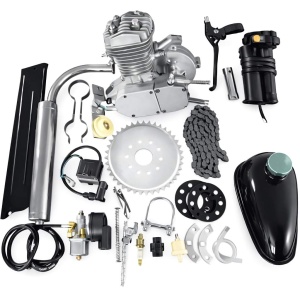
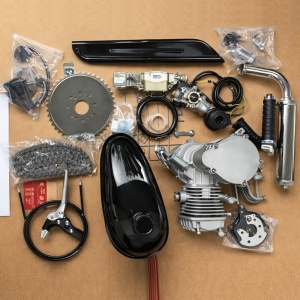
Complete kit included – all components required for assembly are included.
Universal compatibility – fits most standard bicycles.
How to convert your bicycle into a moped
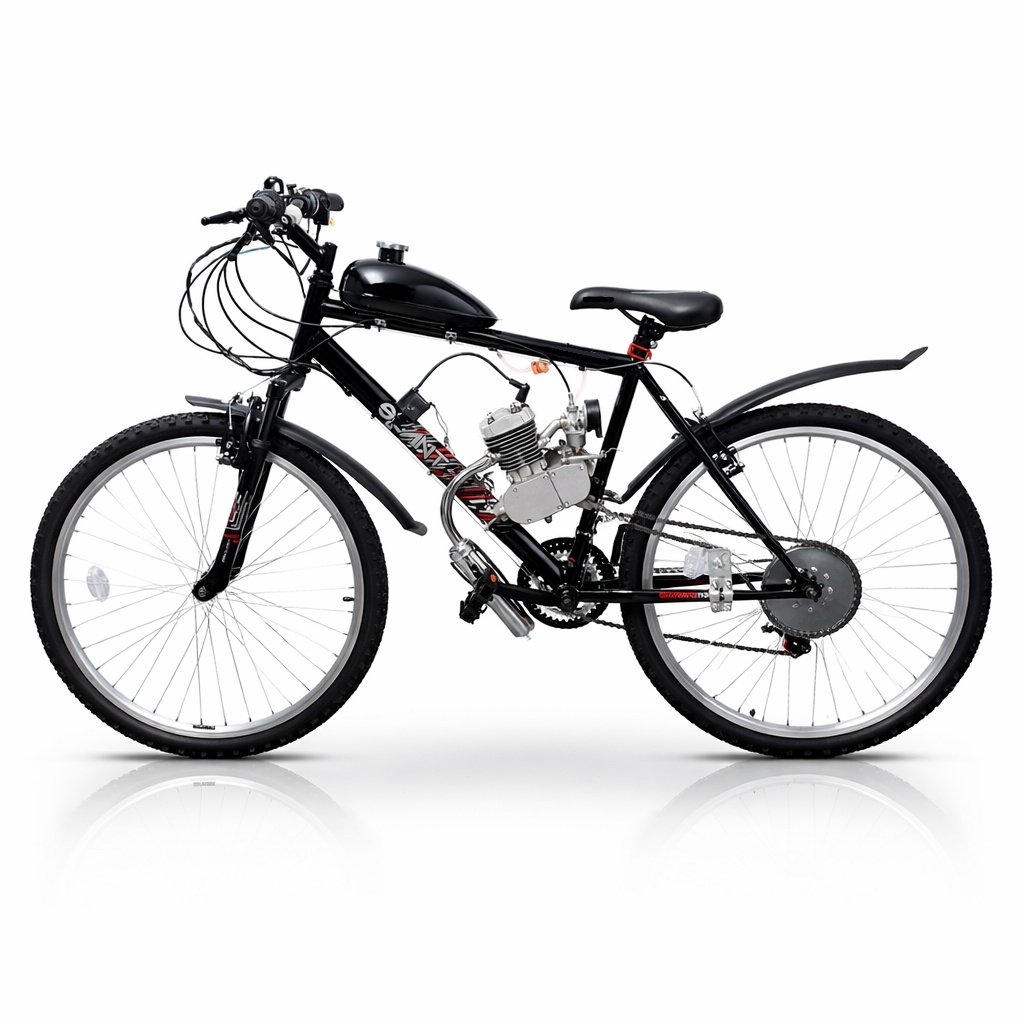
Assembly is simple and can be done without advanced experience. The kit includes all the necessary components for direct installation on the frame.
After installation, your bike becomes a fully motorized vehicle, ideal for daily trips, deliveries or quick trips around the city.
Why choose a 2-stroke engine
Lighter and simpler – fewer components, &incirc;low maintenance.
Higher power in relation to size – better acceleration.
Lower cost – affordable for any user.
Ideal for quick conversions – the preferred solution for motorized bicycles.
Who is this kit for
✔️ For cheap daily commute
✔️ For delivery people or commercial use
✔️ For DIY enthusiasts
✔️ For those who want independence without high costs
Why buy from DenisNetwork
Real stock in Romania – no waiting from China
Fast delivery – you receive the product in a few days
Technical support – we help you with the installation
Parts available – &intiricc;easy long-term maintenance
Warranty and invoice – total safety
&Incirc;Frequently Asked Questions
Is it easy to assemble?
Yes, the kit is designed for easy installation, even without advanced experience.
What speed can it reach?
&Incirc;Depending on weight and conditions, it can reach high speeds comparable to a small scooter.
How much does it consume?
Low consumption, ideal for daily use.
Is it compatible with any bike?
Fits most standard bikes.
Is it suitable for daily use?
Yes, it is designed exactly for constant use and reliability.
Transform your bike today
No longer depend on expensive or slow transportation. With this 2-stroke bike engine kit, you have total freedom, low costs and real performance.
🚴 50/80cc 2-Stroke Bike Engine Kit – 3.2 HP
Transform any bike îintro motorized vehicle – fast, economical and extremely fun
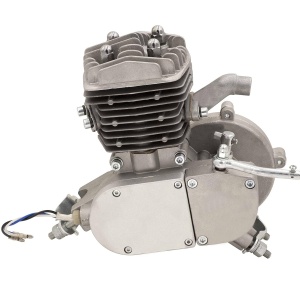
This complete 2-stroke 50/80cc DenisNetwork™ bicycle engine kit is the ideal solution for those who want to quickly transform a classic bicycle into an efficient, economical and powerful means of transportation.
The engine develops 3.2 HP, offering fast acceleration and a maximum speed of up to 80 km/h, being superior to many similar kits on the market that are limited to ~60 km/h.

⚡ Why this kit is NOT like the cheap ones
✔ Real power 3.2 HP (not undersized 2.5–2.7 HP like many variants)
✔ Complete kit – do not buy parts separately
✔ Wide compatibility of bicycle frames (including non-standard)
✔ Stable electronic ignition
✔ Complete transmission included (chain + sprocket + îtensioner)
✔ DenisNetwork = real warranty + support + fast delivery
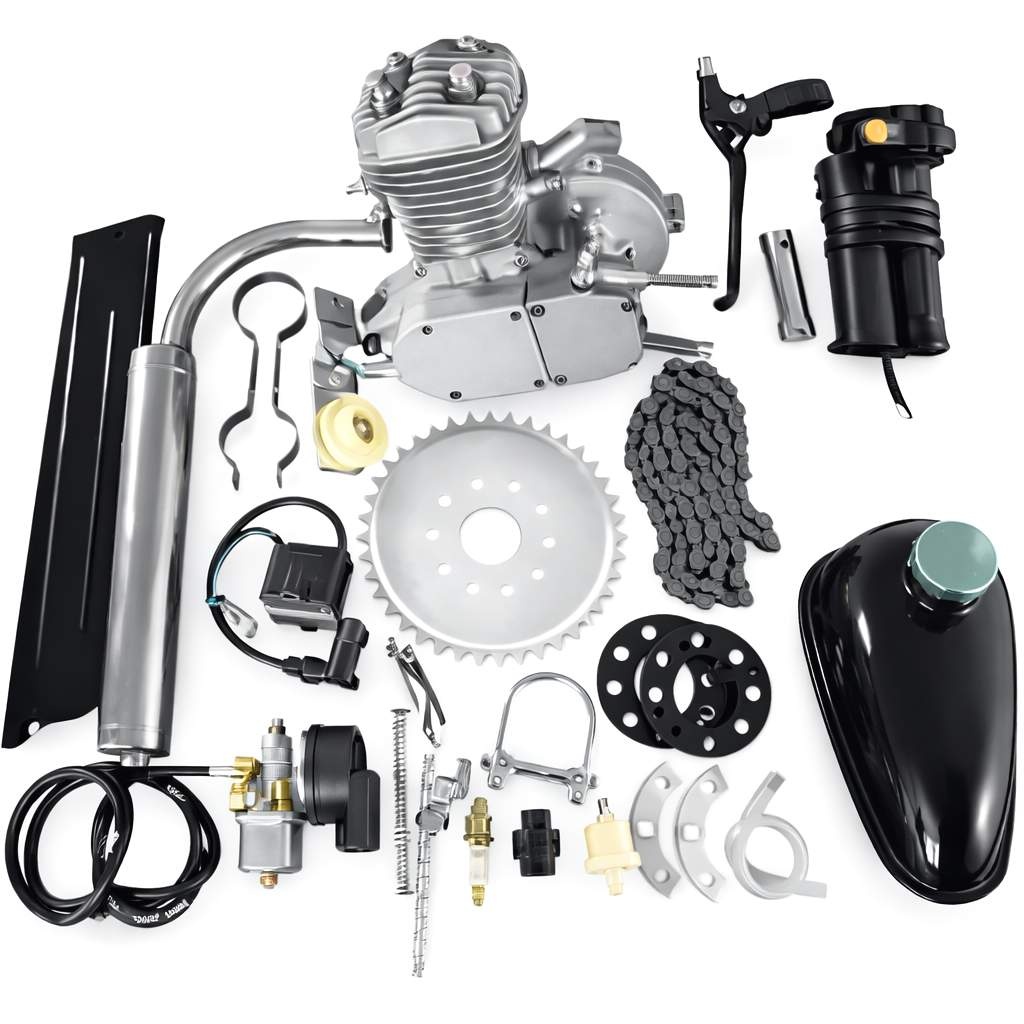
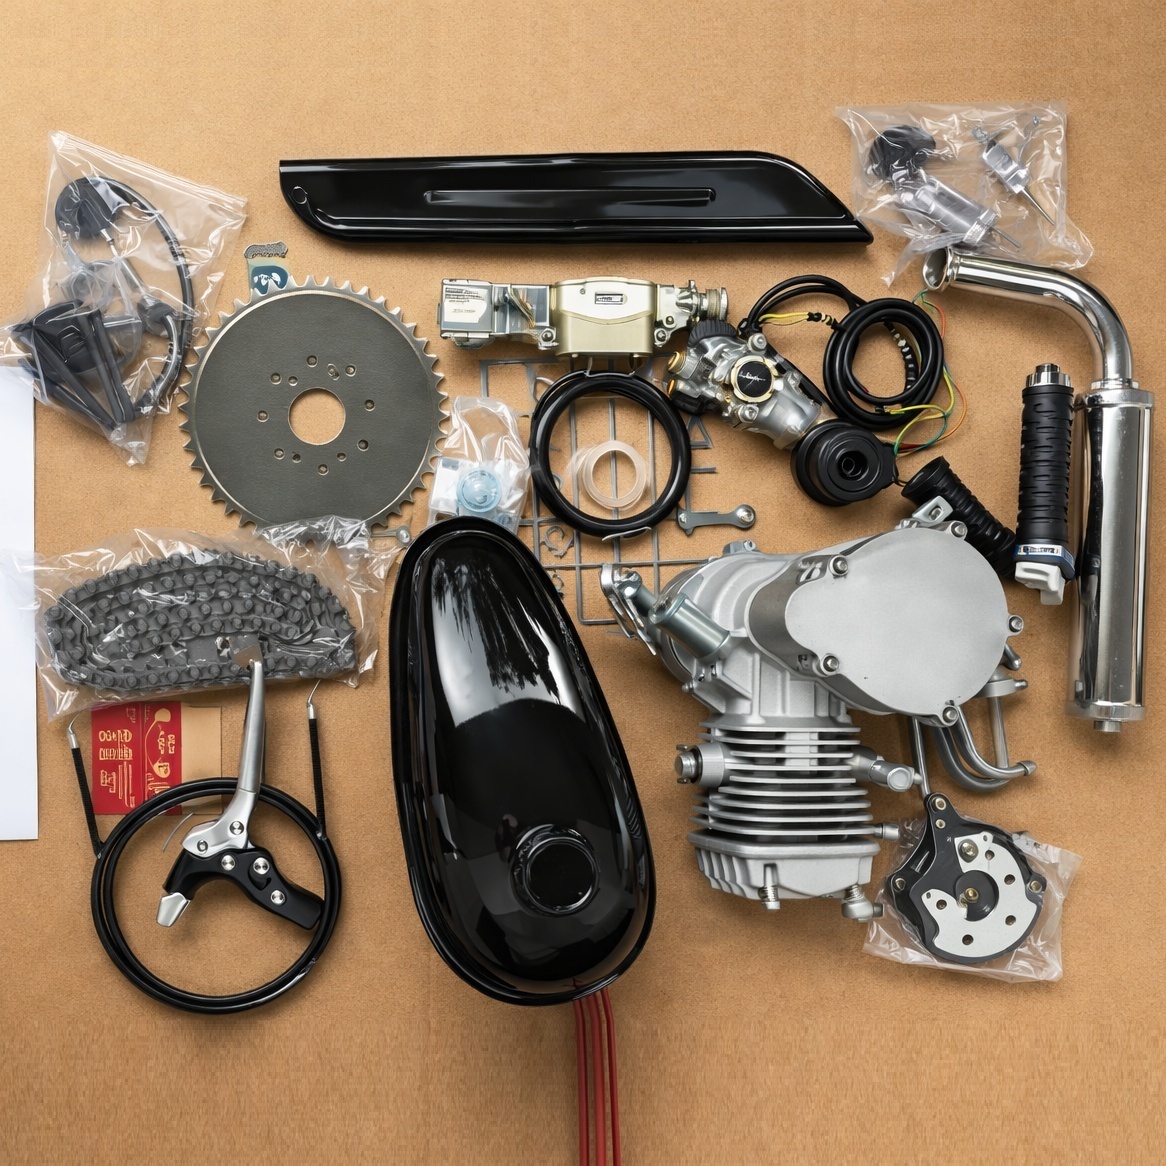
📦 Package contents and specifications (NEATINS – ORIGINAL)
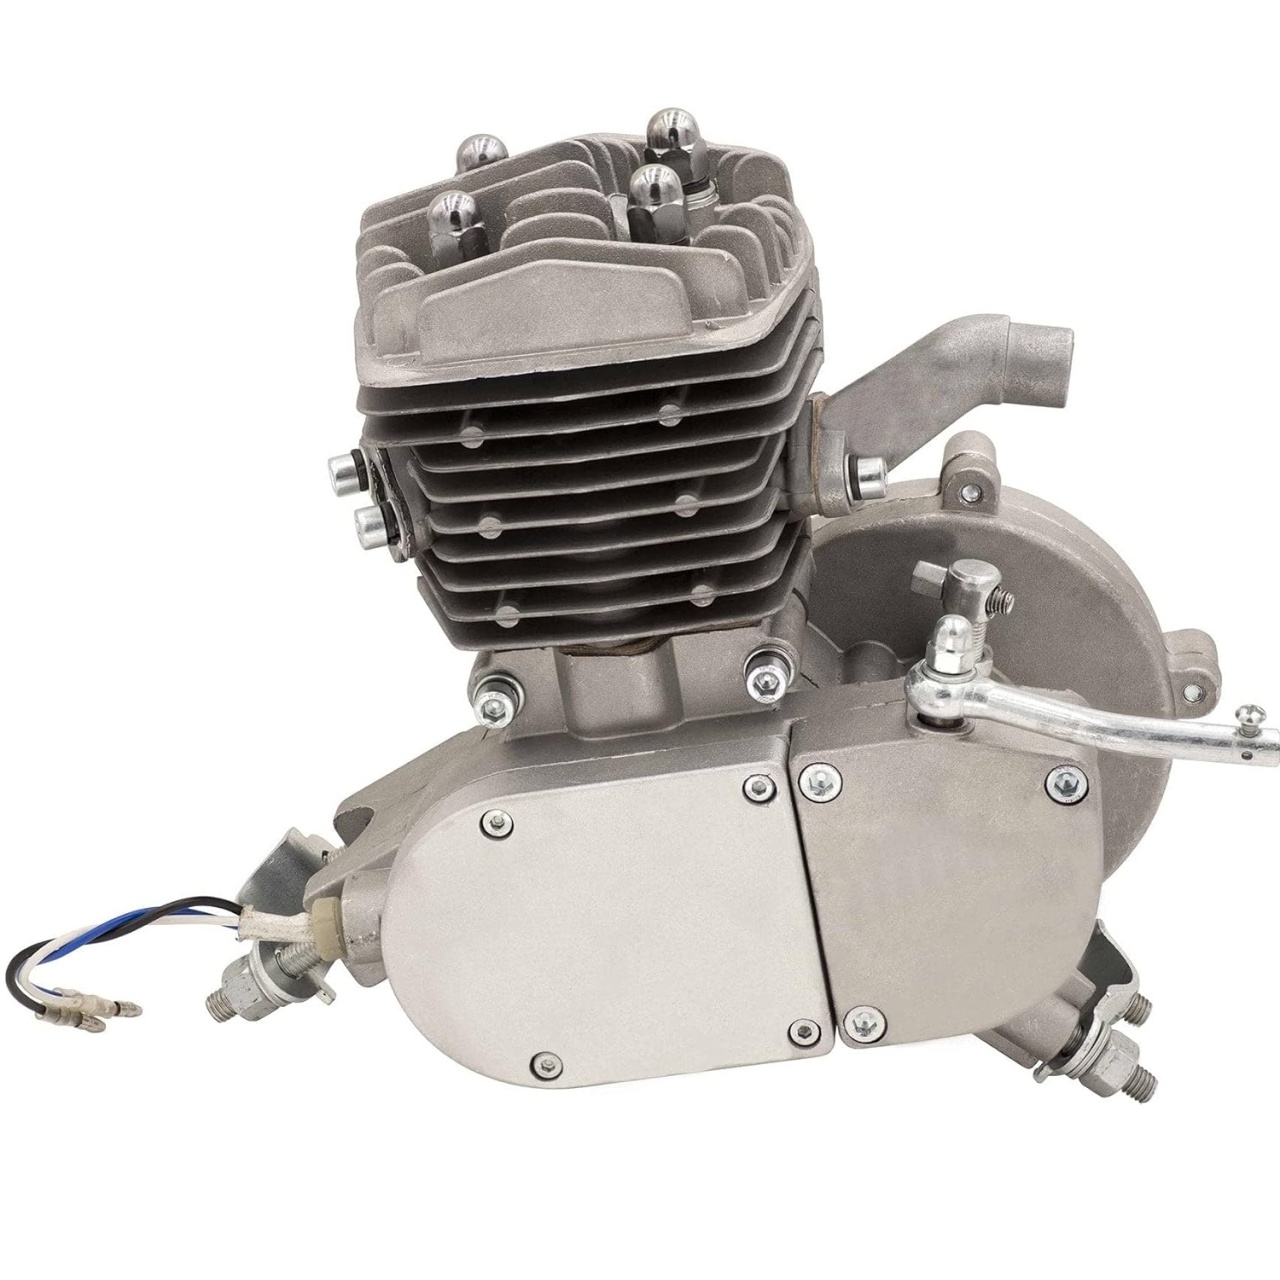
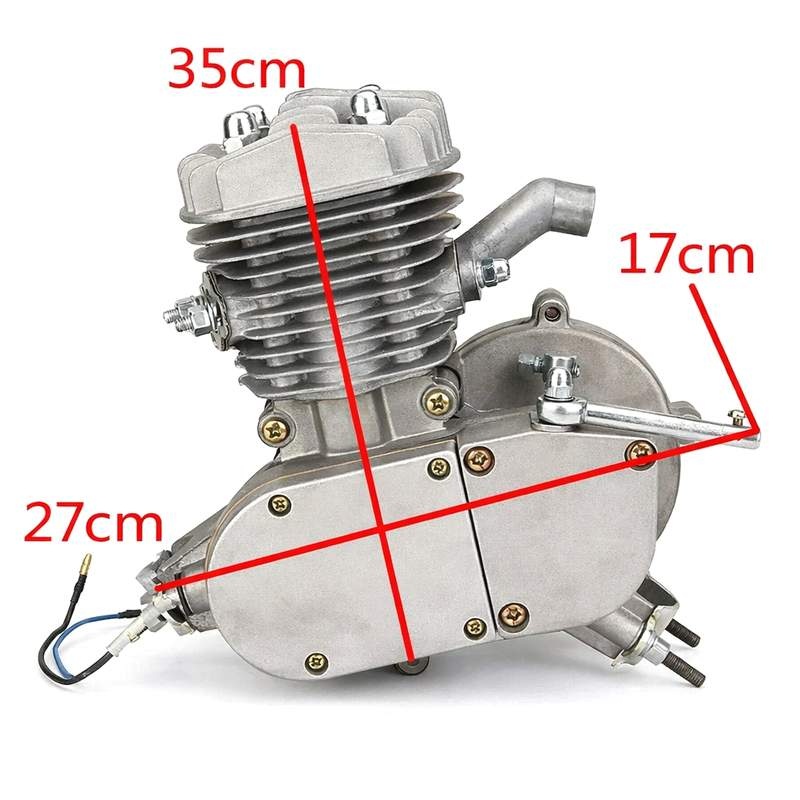
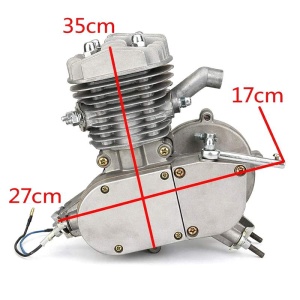
- Engine 3.2 horsepower (47mm piston bore), cylinder capacity 80 cc
- Maximum speed 80 Km/h
- Carburetor
- Exhaust
- Gasoline tank 0.8 Liters
- 44-tooth drive sprocket
- Scooter type transmission chain
- ÎChain tensioner with bearing
- Chain guard
- Sprocket mounting flange
- Electronic ignition
- Throttle lever with button
- Fuel valve
- Clutch lever with lockout
- Spark plug

🔧 Installation – easier than you think
✔ Mounting on standard 26” V-type frame (the easiest)
✔ Compatible with non-standard frames (adapters included)
✔ Installation time: 2h – 1 day (depending on experience)
👉 Ideal for:
- daily commute
- fast deliveries
- hobby & DIY projects
- fuel saving
⛽ Consumption & efficiency
✔ Very low consumption (~1.5L / 100km in normal use)
✔ 0.8L tank → optimal autonomy
✔ Extremely low cost/km
🧠 Strategic advantage (what competitors are NOT saying)
Most kits on the market are:
- no real after-sales support
- no warranty local
- with “inflated” specifications
👉 This model is:
✔ tested on the RO market
✔ real compatible with standard bicycles
✔ delivered completely (no surprises)
🛠️ Recommended compatibility
✔ 26 inch bicycles
✔ V-type metal frame
✔ Tube diameter: ~25 mm (ideal)
❗ Important (legal & usage)
- Requires basic mechanical knowledge
- User becomes responsible for vehicle conversion
- Check local laws before use
💥 FAQ
❓ How fast does it go?
👉 Up to 80 km/h in optimal conditions (weight + terrain)
❓ Is it difficult to install?
👉 No — most users install it in a few hours
❓ Does it consume a lot of power?
👉 No — approximately 1.5L / 100 km
❓ Does it work on any bike?
👉 On most, but ideally on a V-type 26 frame”
❓ Is the kit complete?
👉 Yes – You DO NOT need to buy anything separately
Package contents and specifications:
Below are the installation details:
9.Installing the tensioner:
Reducing the chain size:
Details
Other recomended
-
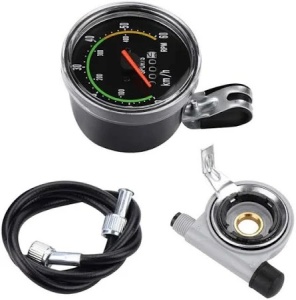
Mechanical bicycle odometer, analog speedometer, 86 cm cableRON 49.00 /BUC RON 80.33 /BUC
-
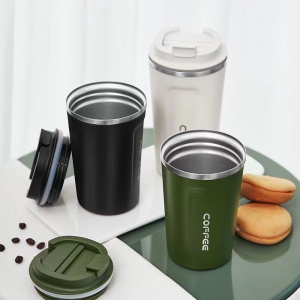
Thermos - preserves aroma and heat 500ml - DenisNetwork™RON 70.00 /BUC RON 75.00 /BUC
-
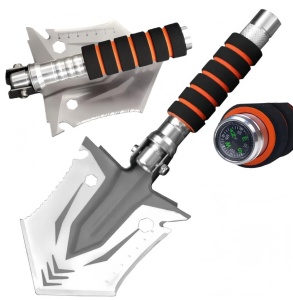
Multifunctional Mini Military Shovel, for Fishing, Self-defense Folding Camping ShovelRON 99.00 /BUC RON 149.00 /BUC
-
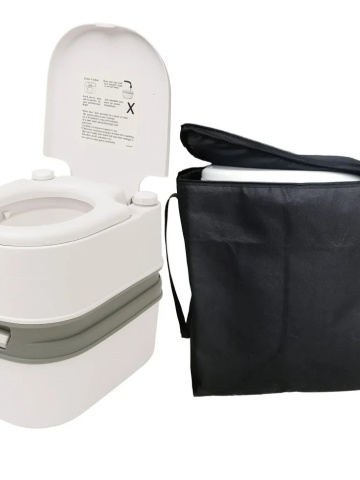
Portable camping toilet 24L odorless with 42 cm height and dual outlet - FlytecRON 390.00 /BUC RON 490.00 /BUC
-
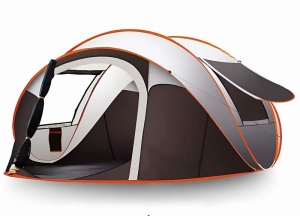
Camping Tent, 3 Persons, Automatic Deployment in One Second, Aluminum Structure / Mountain / Adventure / Outdoor / HikingRON 299.00 /BUC RON 395.00 /BUC
-
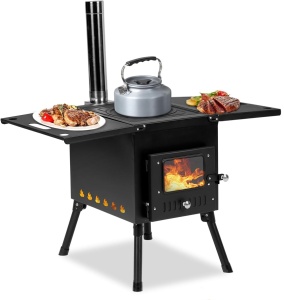
Steel wood stove heater - camping stove with downpipe, perfect for patios and tentsRON 599.00 /BUC RON 799.00 /BUC
-
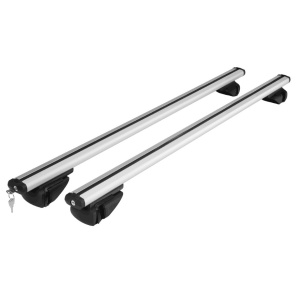
Set of car roof rack bars, 100-120cm crossbars made of hard-aluminum with mounting on longitudinal bars like Logan, Duster etc.RON 199.00 /BUC RON 273.52 /BUC
-
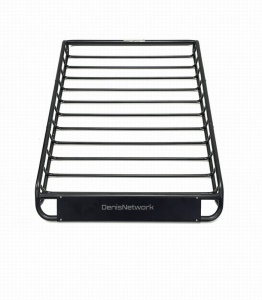
Roof rack, metal roof rack, steel grille 160*101 cm with mounting on longitudinal crossbars, metallic blackRON 990.00 /BUC RON 1,490.00 /BUC
-
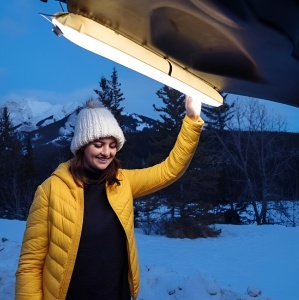
Portable, inflatable and ultra-durable LED lamp – ideal for camping and adventures!RON 79.00 /BUC RON 99.00 /BUC
-
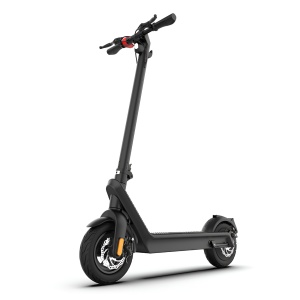
Folding electric scooter X9 Pro 1100W, Autonomy 100Km, Speed up to 40Km/H, Removable battery 48V 15.6ARON 2,990.00 /BUC RON 3,990.00 /BUC
-
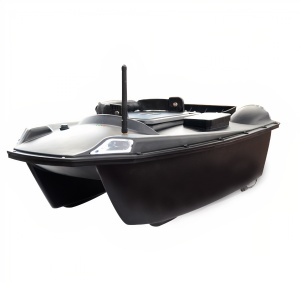
Navomodel, premium bait boat with course correction - Dittom BonaBoat 2 TANK, 2 20800mAh batteries, 2 motors for fishermenRON 965.00 /BUC RON 1,719.00 /BUC
-
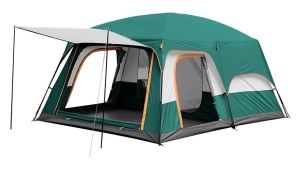
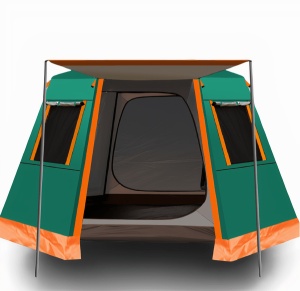
Tall camping tent, 4 people, with terrace, 2 areas, 2 doors and 2 windowsRON 965.00 /BUC RON 1,168.00 /BUC
-
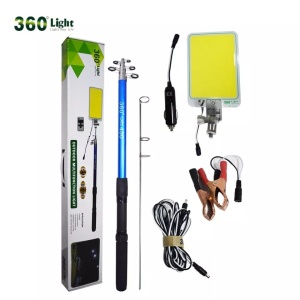
5m telescopic LED fishing rod lamp for camping, fishing, mountain with 12v 50W power supply, high projectorRON 190.00 /BUC RON 314.19 /BUC
-
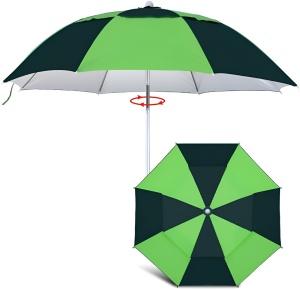
Large Coverage Beach and Camping Umbrella – Lightweight, durable, ideal for the beach, garden and campingRON 179.00 /BUC RON 208.00 /BUC
-
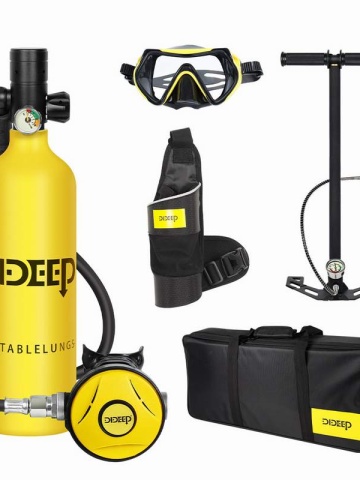
2L Portable Scuba Tank with Regulator, Mask, Hand Pump and Carrying Bag – Complete Underwater Diving Kit - DenisNetworkRON 1,790.00 /BUC RON 1,990.00 /BUC
-
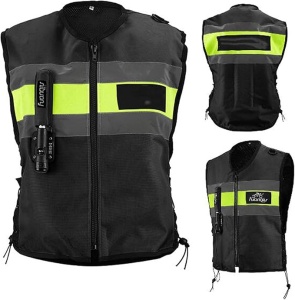
Impact vest with airbag for motorcyclists with fall-by-wire deployment - Flytec™RON 490.00 /BUC RON 1,210.00 /BUC
-
Camping tent for family and group adventures, can accommodate up to 4-6 people, easy to assemble in just a few minutesRON 944.00 /BUC RON 1,107.00 /BUC